¶ FiveM Installation & txAdmin Setup Guide
Welcome to GigaLinked! In this guide, we’ll walk you through installing and setting up your FiveM server (including txAdmin) on a GigaLinked node. We’ll cover everything from allocating ports and creating the server in the panel, to ensuring you have the correct resource limits and license key.
Tip: By default, your panel URL and login credentials are sent to you via email when you create a new node.
¶ 1. Allocating Ports
-
Go to Administration
In your GigaLinked panel, click on Administration in the left-hand menu, then select Dedicated Nodes. -
Select Your Node
From the list of nodes, click the node you want to install FiveM on. -
Open “Allocation”
Find and click the “Allocation” tab, where you manage open ports.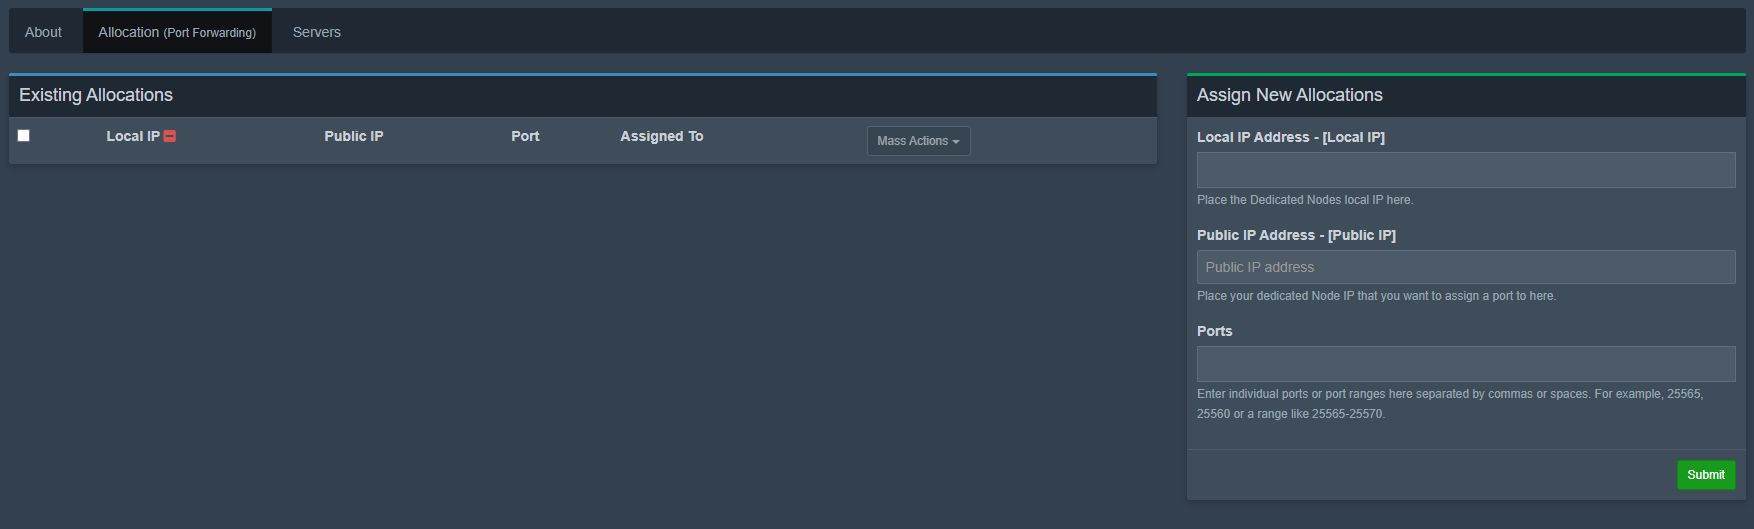
-
Assign New Allocations
- You will see two IP addresses (local and public).
- In the Ports field, type the ports you need for FiveM (e.g., 30120) and txAdmin (e.g., 40120).
- Click Submit to open these ports.
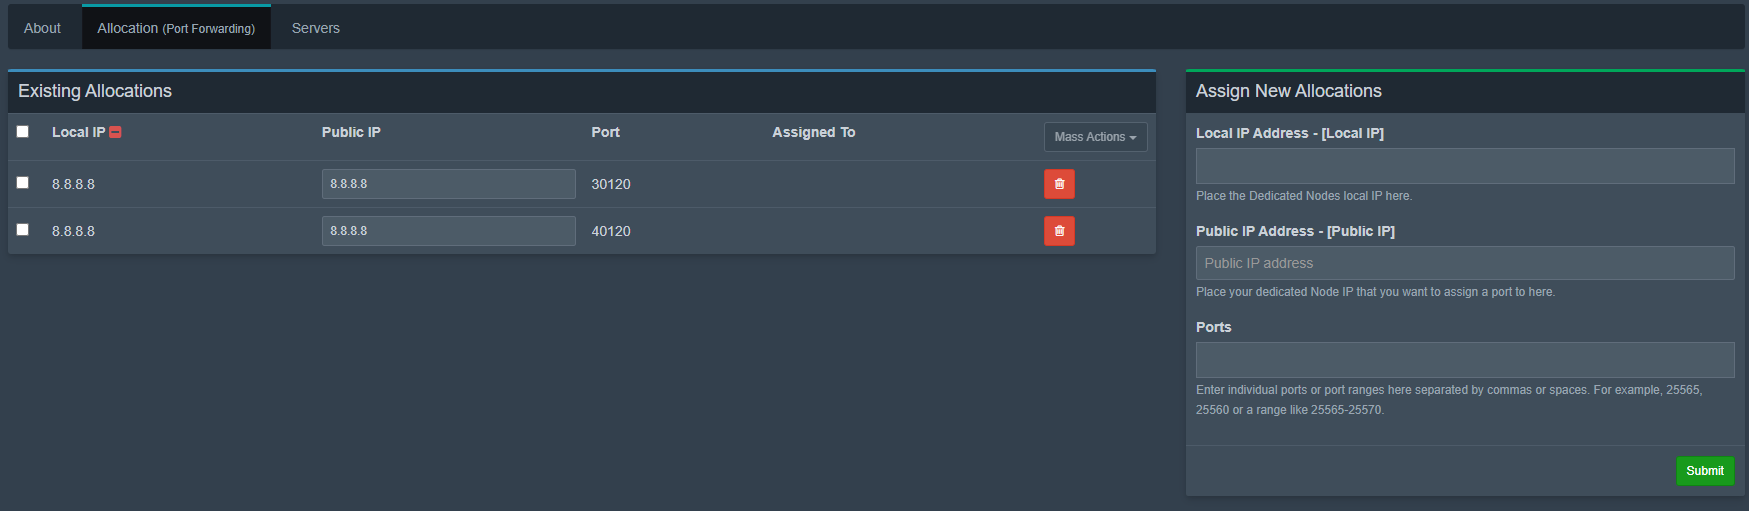
Important: If you do not open the port for txAdmin, it will fail to start or remain inaccessible.
¶ 2. Creating Your FiveM Server
-
Navigate to Servers List
In the left-hand menu, click Servers. On the top-right, select Create New (or Add Server).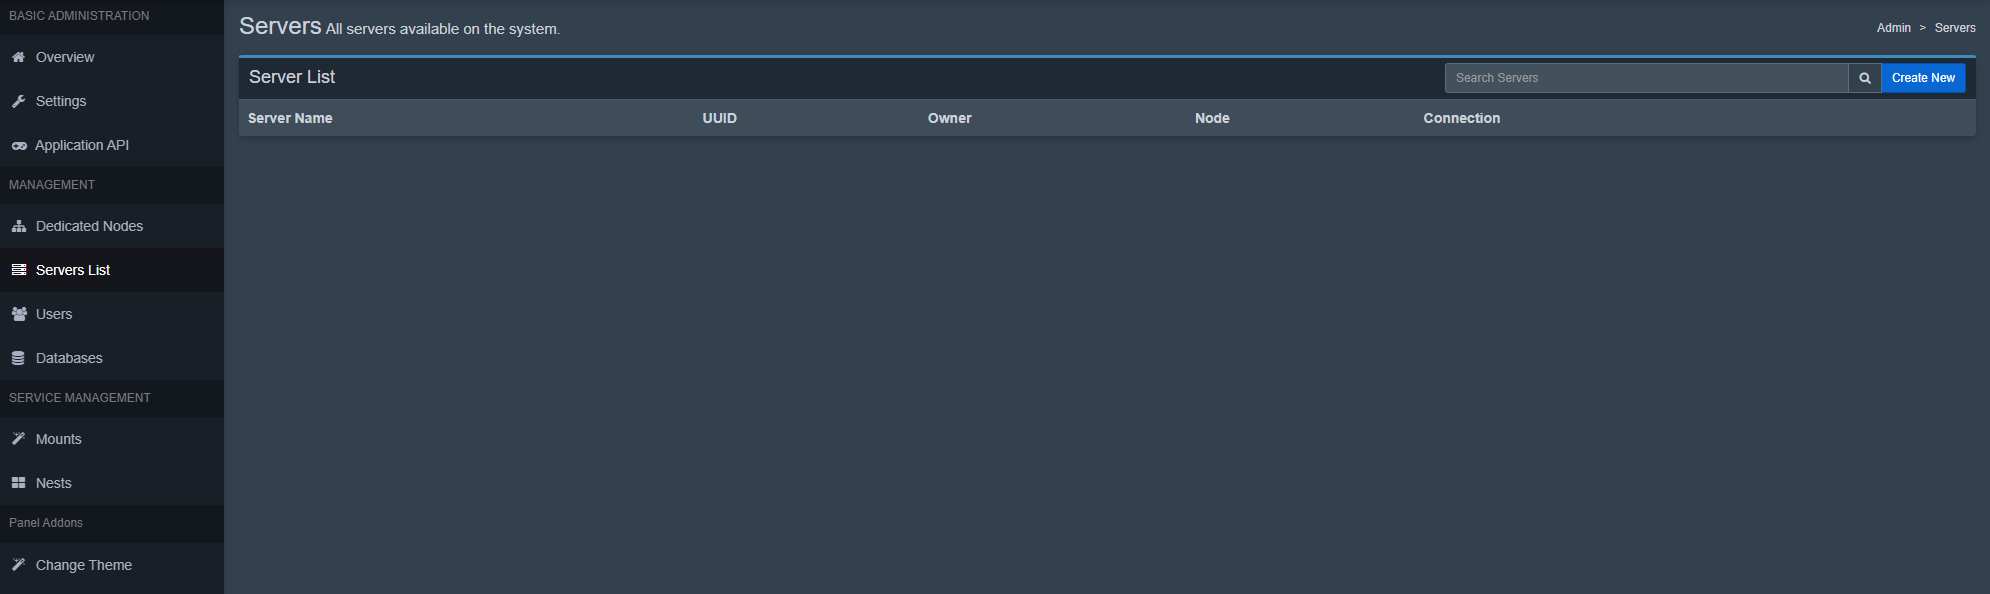
-
Fill Out Information
- Name: Enter a friendly name for your server (this is just for your own server list).
- Description: Optionally add a description of your server.
- Server Owner: Assign a user with ownership (often your own account).
-
Allocation Management
- Primary Allocation: Set this to the main port for FiveM (e.g., 30120).
- Additional Allocation: Make sure to select your txAdmin port (e.g., 40120).

If you do not select the txAdmin port here, txAdmin will not function.
-
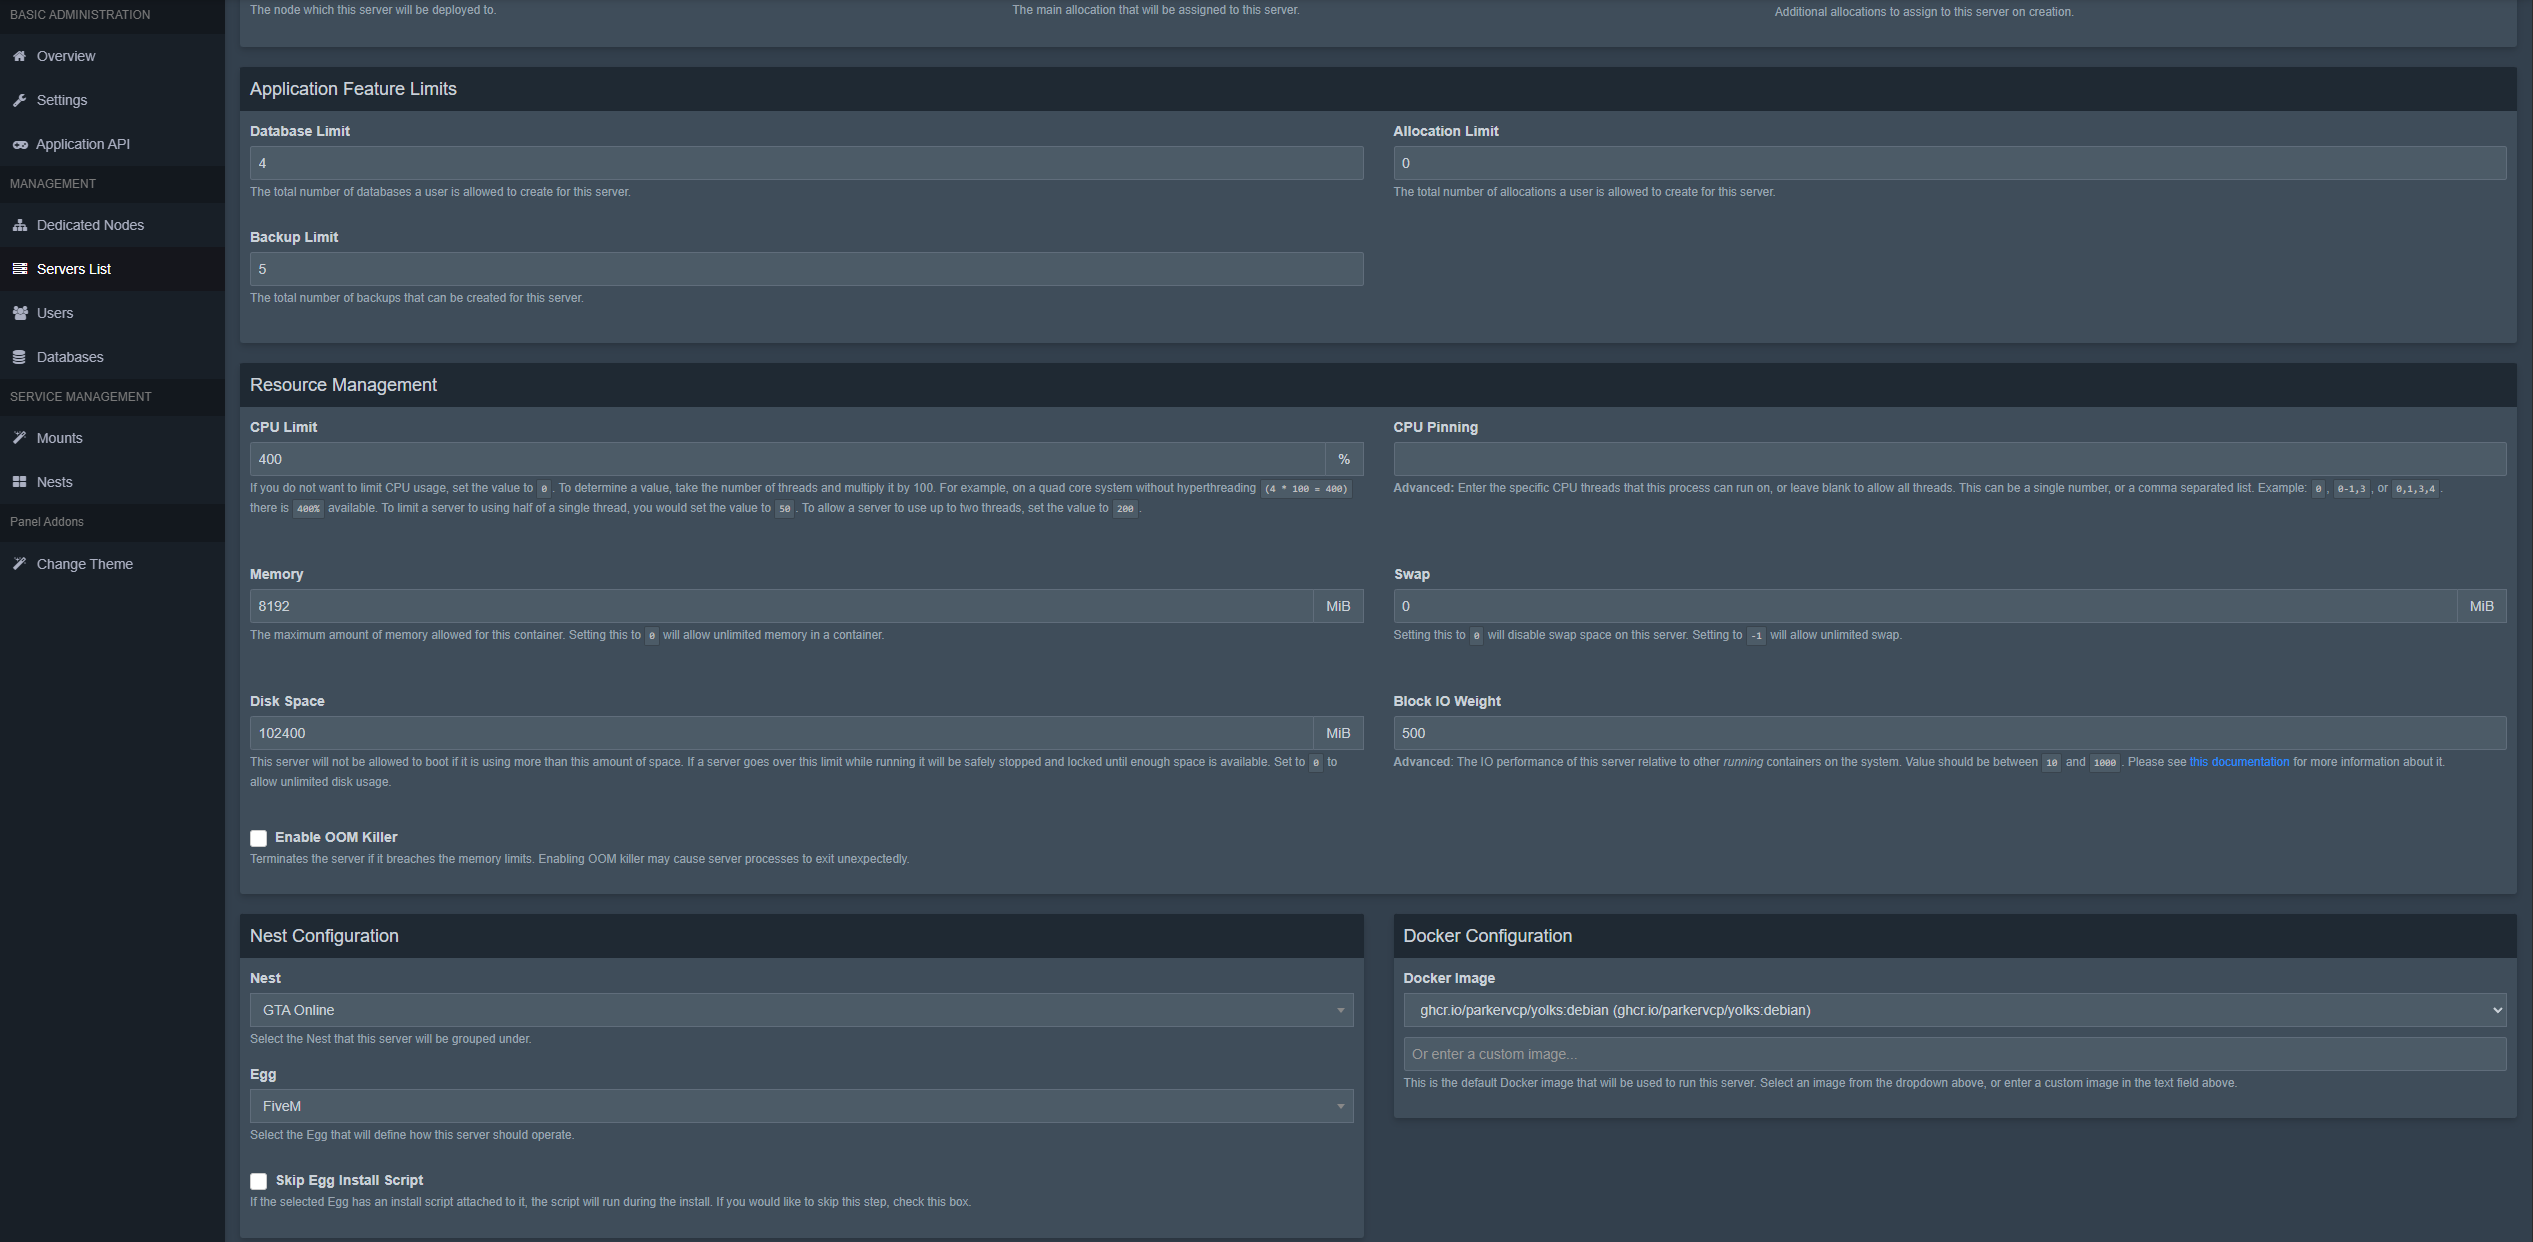
Resource Management
- CPU Limit: 100% = 1 full CPU core. For example, if you want to allocate 2 cores, set this to 200%.
- Memory: Calculate memory in MB (1 GB = 1024 MB). For example, 8 GB = 8192 MB.
- Disk Space: Allocate enough storage for your server files.
-
Nest & Egg
- Nest: Choose GTA Online.
- Egg: Choose FiveM.
-
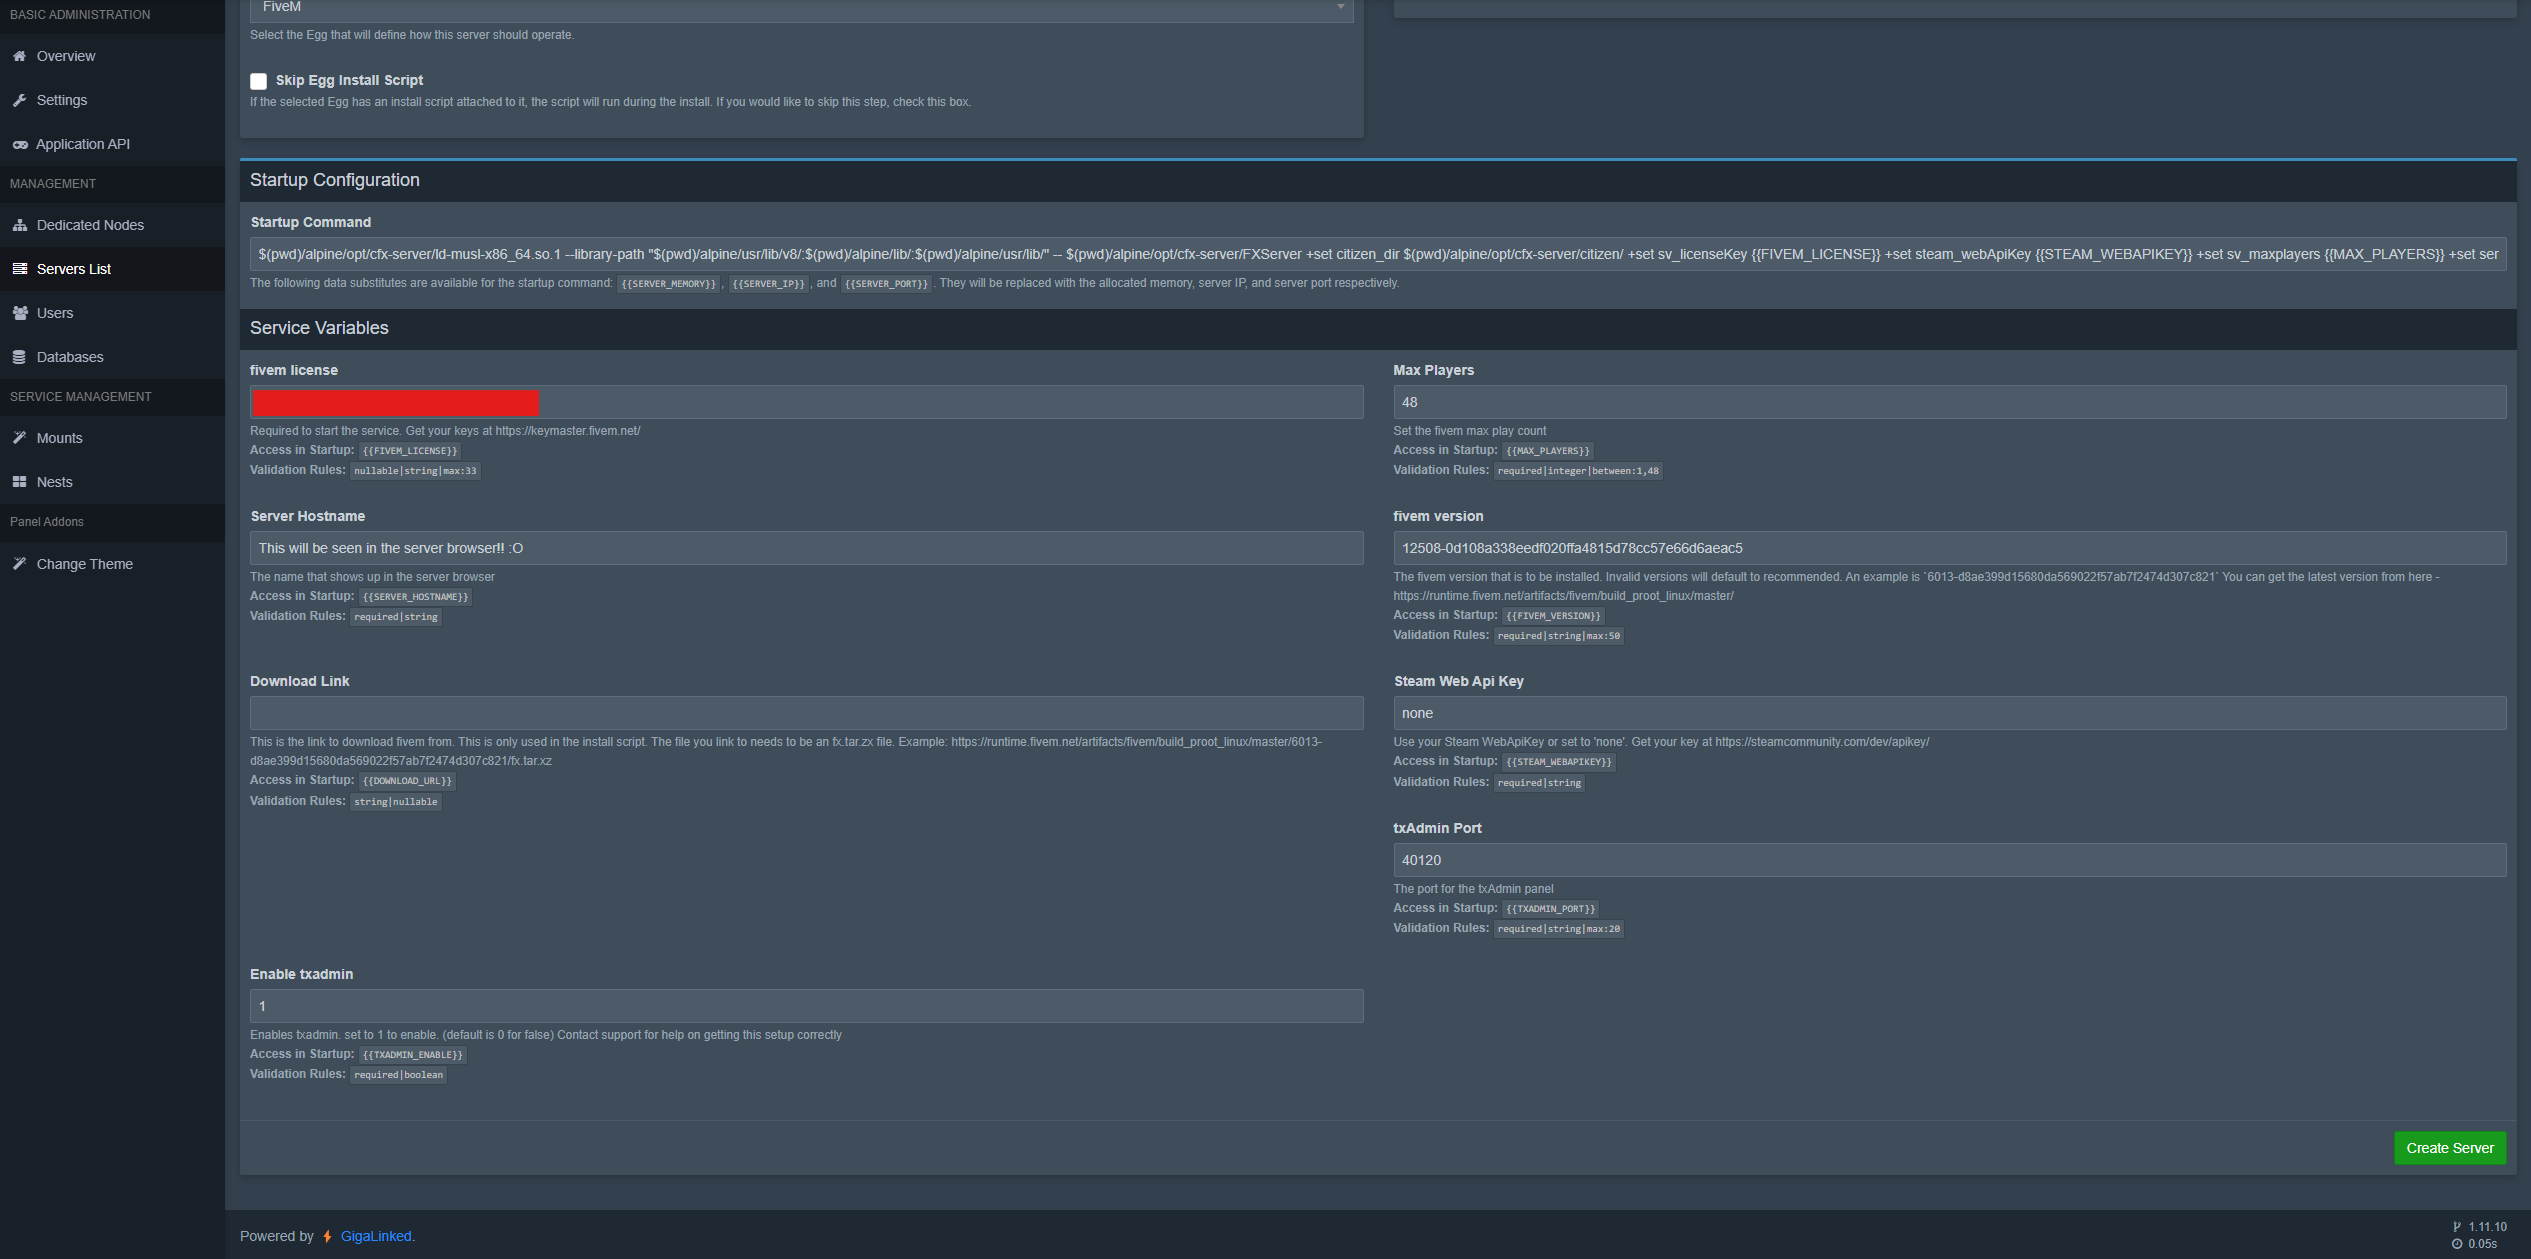
FiveM License Key
- Enter your FiveM license.
-
FiveM Version
- It's recommmended to get the latest version from txAdmin's Discord at https://discord.gg/uAmsGa2.
Keeping this as recommended will result in the following error in the console:

-
Enable txAdmin
- Set
Enable txAdminto 1. - txAdmin Port: Must match the Additional Allocation you selected above (e.g., 40120).
- Set
-
Limits & Backups
- Database Limit: (Optional) If you plan on using a database, set a suitable limit.
- Backup Limit: (Recommended) Set a backup limit to avoid using excessive disk space.
-
Create the Server
Click Create to finalize. You can click the console button to see the server creation.
- Wait for Setup
- The system will download and install the required files for your FiveM server.
- Once finished, you should see messages indicating that txAdmin is starting up.
¶ 3. Setting up txAdmin
-
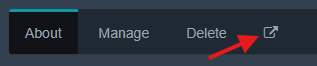
Open txAdmin
- In the console output, you’ll see a URL or an IP:Port link to txAdmin.
- Click this link and it will open in a new tab.
-
Enter the PIN
- The console will also show a PIN. Enter that PIN on the txAdmin login page.
- After that, login to your FiveM account.
-
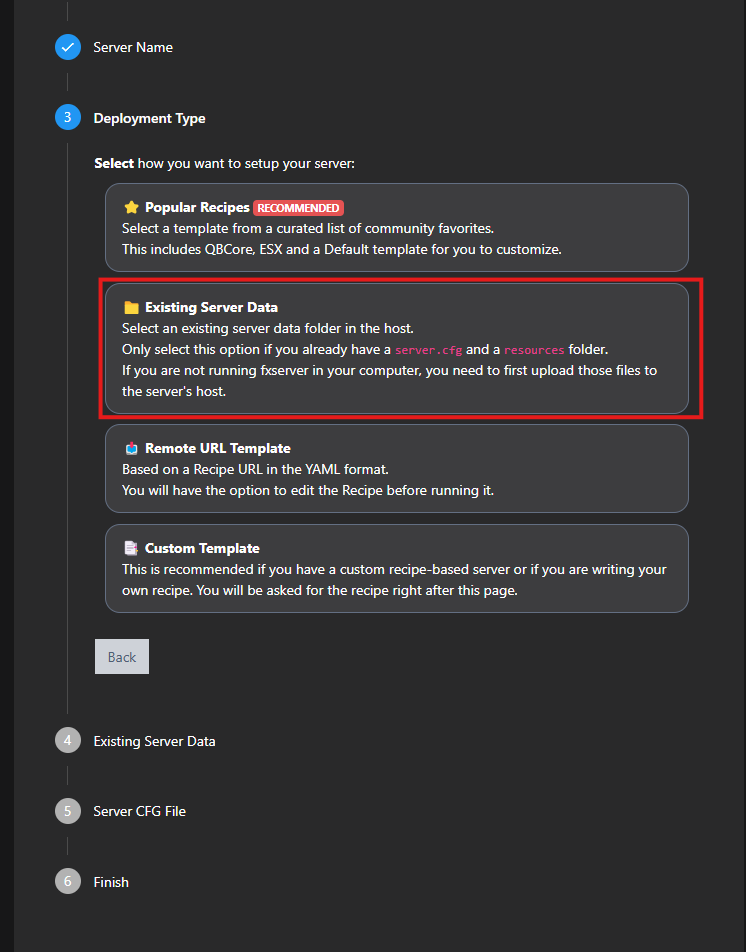
Choose Deployment Type
- Select Existing Server Data (important!).
- Using any other deployment type may place files in unexpected folders or overwrite existing data.
-
Base Folder
- Set the base folder to
/home/container/(the default for your FiveM server files). - Complete the rest of the setup steps.
- Set the base folder to
-
Finishing Up
- Once the wizard is complete, you’ll be taken to the txAdmin dashboard.
Important Note on Stopping the Server
- It’s recommended to stop or restart the server from the GigaLinked panel rather than txAdmin.
- Clicking “Stop” in txAdmin may not fully stop the server process. Use the panel’s Kill or Stop button to properly shut it down.
- It's recommended to delete the cache folder once a week, when the server is off, depending on the amount of resources.
¶ 4. Conclusion
You have now installed and configured your FiveM server with txAdmin on GigaLinked. From allocating ports to finalizing the txAdmin setup, your server should be ready to go. Remember to always manage major actions (start, stop, kill) via the GigaLinked panel for a clean server state.
If you have any questions or run into issues, feel free to open a ticket or consult GigaLinked support. We also appreciate any feedback you have on this documentation—your comments and ratings help us improve!
Enjoy your new FiveM server, and thank you for choosing GigaLinked!
This guide is maintained by GigaLinked. For further updates or issues, please check our [Support & Documentation] or open a support ticket.
¶ How to Add a Server Banner
Want to set up a server banner for your FiveM server? Here is how to do it!
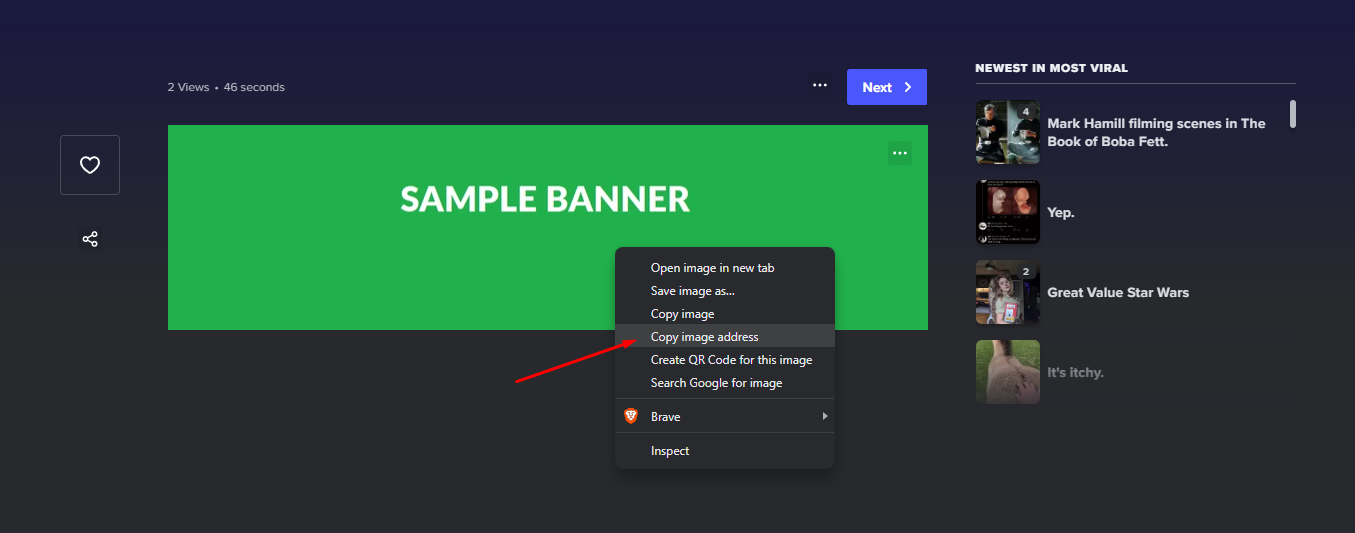
- Make yourself a server banner in
.pngformat at 1865x250 (optimal width & height). - Upload your banner to Imgur (or a similar image-hosting site), then right-click to copy the direct image link.
- Open your
server.cfgfile and add this line:
Make sure the Imgur link starts withsets banner_detail "YOUR_IMGUR_LINK_HERE"i.imgur.com, for example:https://i.imgur.com/rYrHNvr.png
Now restart your server and you should see the banner!
¶ Adding a Framework
To add a Framework to your new FiveM server, you need to first check the FiveM version used by the server. If you already have files on this server, you should back them up.
Looking for FiveM version, head to the txAdmin discord server and type !u in their fivem channel to get their bot to give you the correct version, and paste it in.
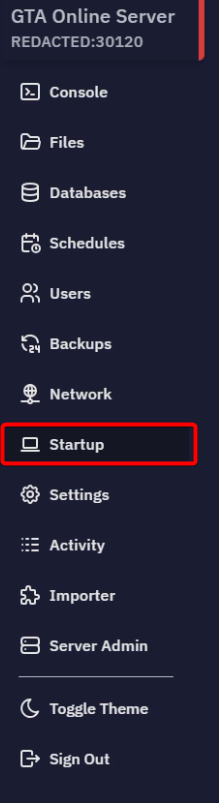
This version is not being used yet, go to Settings underneath the previous Startup button and reinstall your server.
- Once the server is finished installing, head to the files of it and delete logs, resources, server.cfg.
- Head to databases and create a new one, simply give it a name and create it.
- Now head back to the console and startup the server.
- Click the txAdmin link in the console, enter the Pin, login.
- Fill out server name.
- For Deployment Type select Popular Recipes.
- For Select Template select whichever framework fits your database.
- We will change it's path later on, leave it by default for now so it install correctly.
Next keep going until you see the image below, you have to click Show/Hide Database Options to see it.
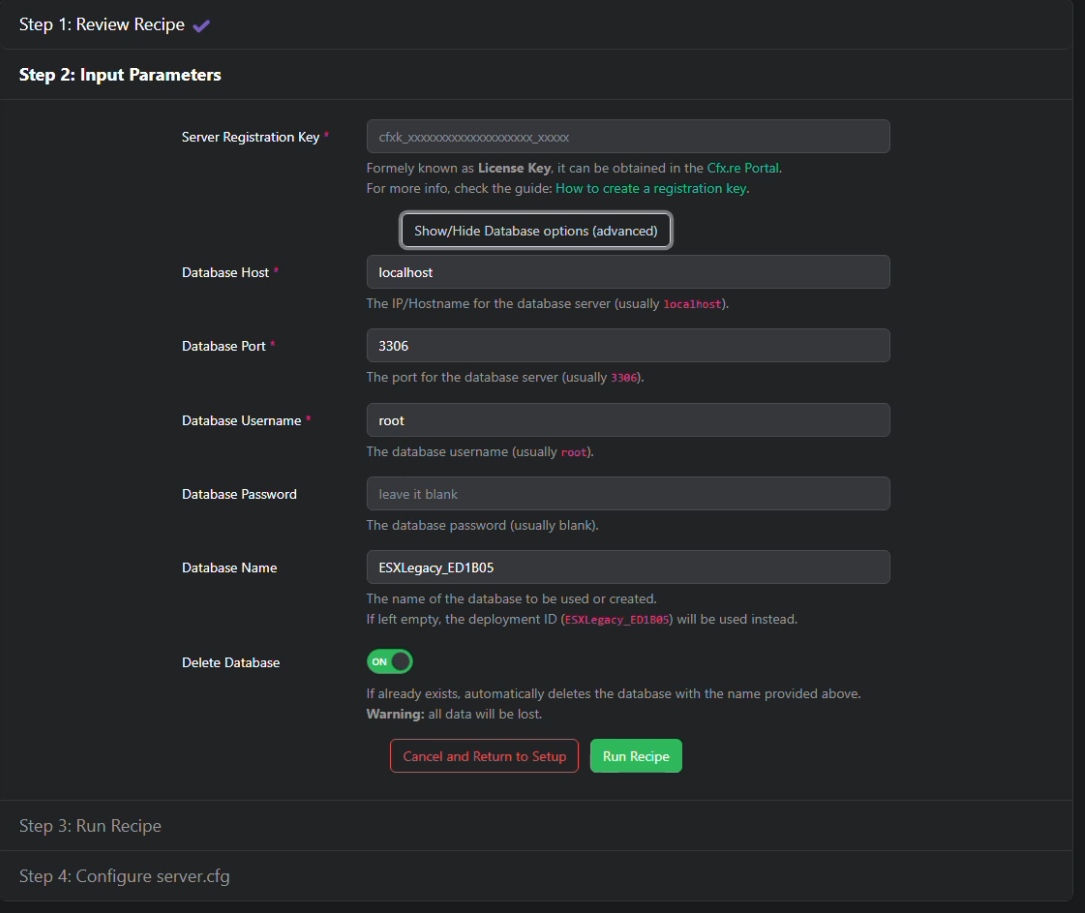
These are not the correct credentials to use, need to use the credential for the database.
To get them head over to the database where you created it, and click the "eye" icon.
- Database Host is the Endpoint without the port.
- Database Port is the port part of the Endpoint.
- Database Name usually starts with "s21_" for our databases.
- Next let txAdmin do it's boot by itself, until you see the red CFX, which means it's worked.
¶ Moving the directory
Stop and kill the server if it's running, head to the txData file and to the database folder which should end in .base.
- Right click the resources folder, click "move". Type in
/../../resourcesand click move. - Go to /home/container and delete the already existing server.cfg.
- Go back to /home/container/txData/.base/ and Repeat step 1 for server.cfg
- Delete the .base file.
- Head to /home/container/txData/default/config.json
- Change the path in the folder to
/home/container/and save.
Now you've installed the framework and can start up your server and use it.
¶ Connecting your database
If you got this error:
Then you did not set up themysql_connection_stringcorrectly. The database IP can never be127.0.0.1.

- Open your
server.cfg. - Create a database if you have not yet done so, and remember the database details (host, user, password, name).
- In the
mysql_connection_string, include the following:server=: IP of your MySQL server (found in the “Databases” tab of your control panel).uid=: Username of your MySQL database.password=: Password of your MySQL database.database=: Name of your database.
Your mysql_connection_string might look like this:
set mysql_connection_string "mysql://[USERNAME-HERE]:[PASSWORD-HERE]@db.glnodes.com:50000/[DB-NAME]"