¶ Minecraft Guide
This is a guide on setting up a minecraft server on your node. We support a variety of Minecraft Servers. Vanilla, Paper, Forge, Sponge and Bungeecord.
First though, the node needs to have it's ports opened so that they can be used when creating the server.
¶ Opening Ports
In order to create the Minecraft server, you need to open the ports on your node first.
- Head to "Dedicated Nodes" under "Management" on the left navigation panel.
- Select your node
- Along the top, select "Allocation (Port Forwarding)"
You will see the following page:

On the right, you can create ports under "Assign New Allocations."
Whatever your Local IP and Public IP addresses are, they will be displayed and all you have to do is enter them. Underneath you can put the port that your minecraft server will be using, for Java it's25565.
Bedrock Edition uses19133.
Submit and that port will show up on the left.
¶ Setting up your Minecraft server
- Go to Servers List and click Create New at the top right.
- Here you can fill out your server name, assign the server owner, a description.
- Also assign Additional Ports if required, but remember they must be opened on the node first.
- Scrolling down you can see the server resources, simply assign it the specs you want.
Afterwards, scroll to the Nest Configuration.
Here we can select different versions of Minecraft servers, select whichever you want to install.
Then press Create Server at the bottom right.
Now in this gif, the console says the server is out of memory, we would have to change this in the Servers List > Minecraft-Server > Configuration.
¶ Deleting the server
To delete your server, go to:
- Servers List > Your Minecraft Server
- At the top, click on delete.
- Safely Delete This Server.
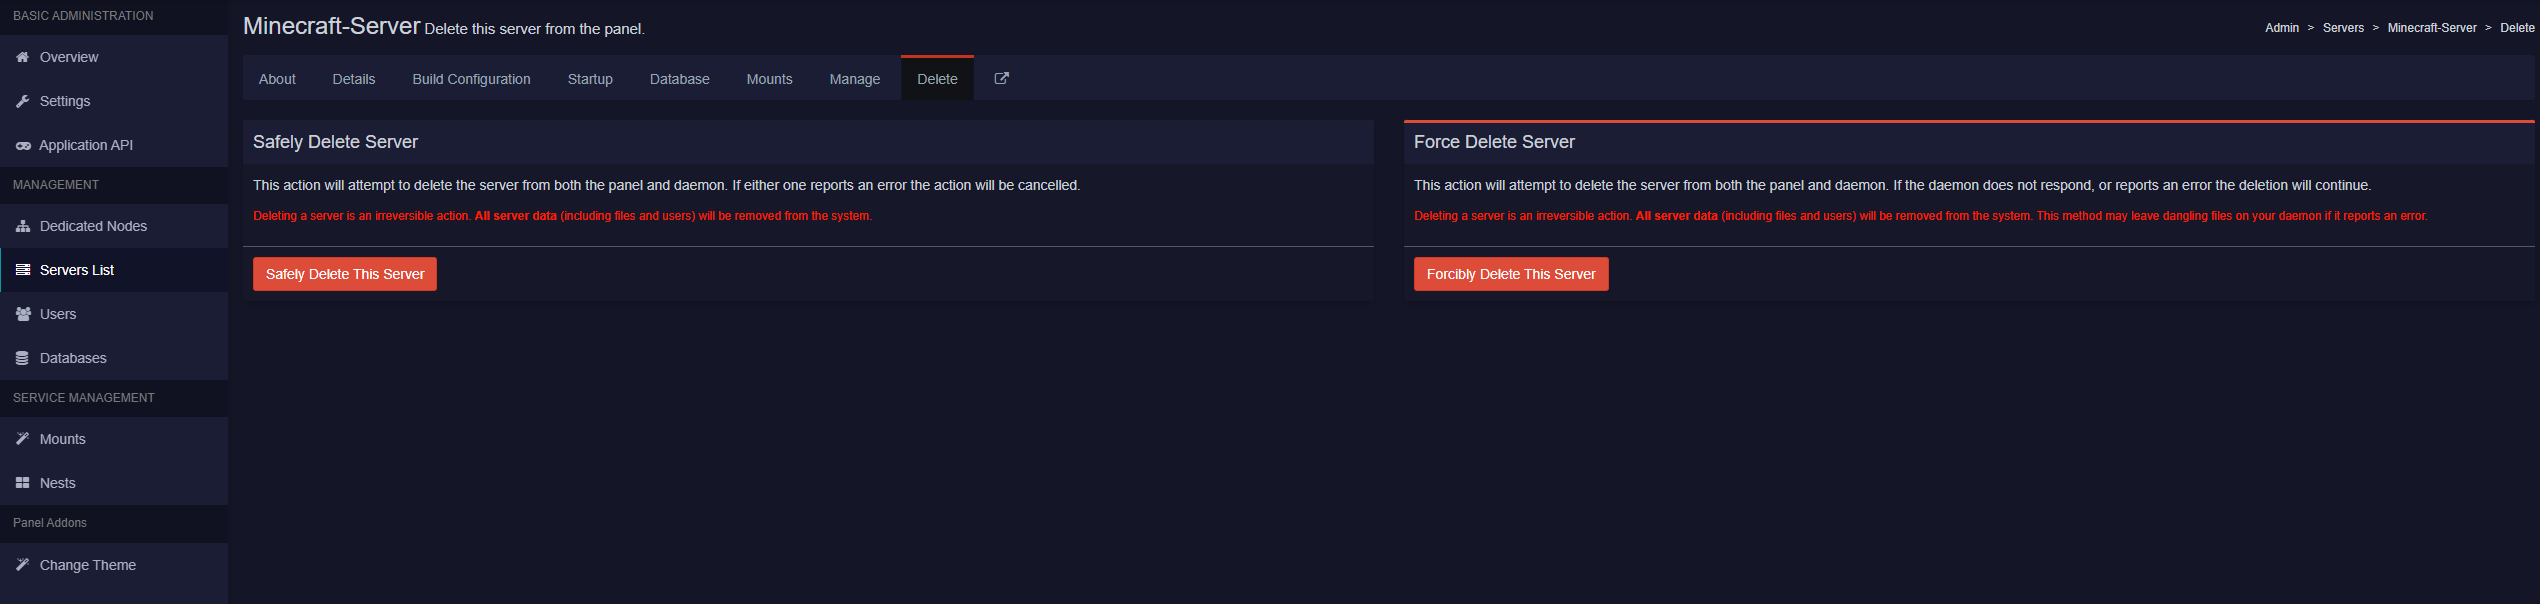
Forcing the deletion of the server results in the panel files being uninstalled, not the files of the server itself, so only click it if deleting the server safely is not possible.